London After Dark: Lessons from My Photography Tour
During my trip to London, I decided to take a nighttime photography tour to practice with my new camera. After years of photographing food for my blog, I wanted to try something different and challenging.
This time, unlike my first photography tour in London, my husband was able to join me. Although he doesn’t have a camera, he used his phone, and our instructor shared some great tips to help him capture better photos with it.
When we signed up for this tour, it was originally planned as a group tour. However, since we were the only ones who booked, we lucked out and ended up with a private nighttime photography tour of London!
Why Nighttime Photography In London?
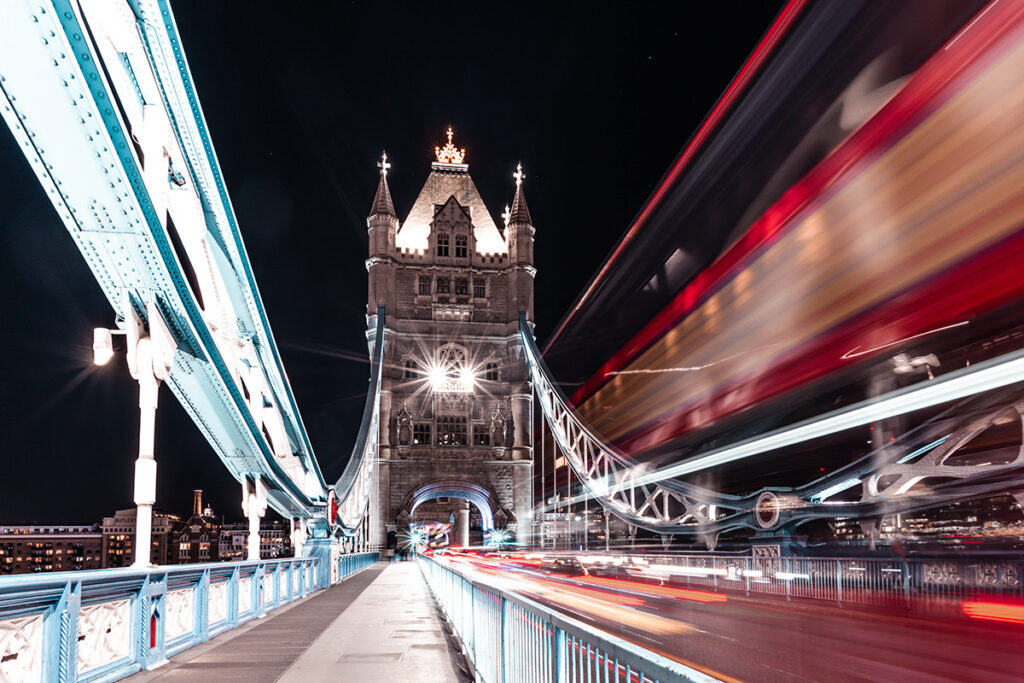
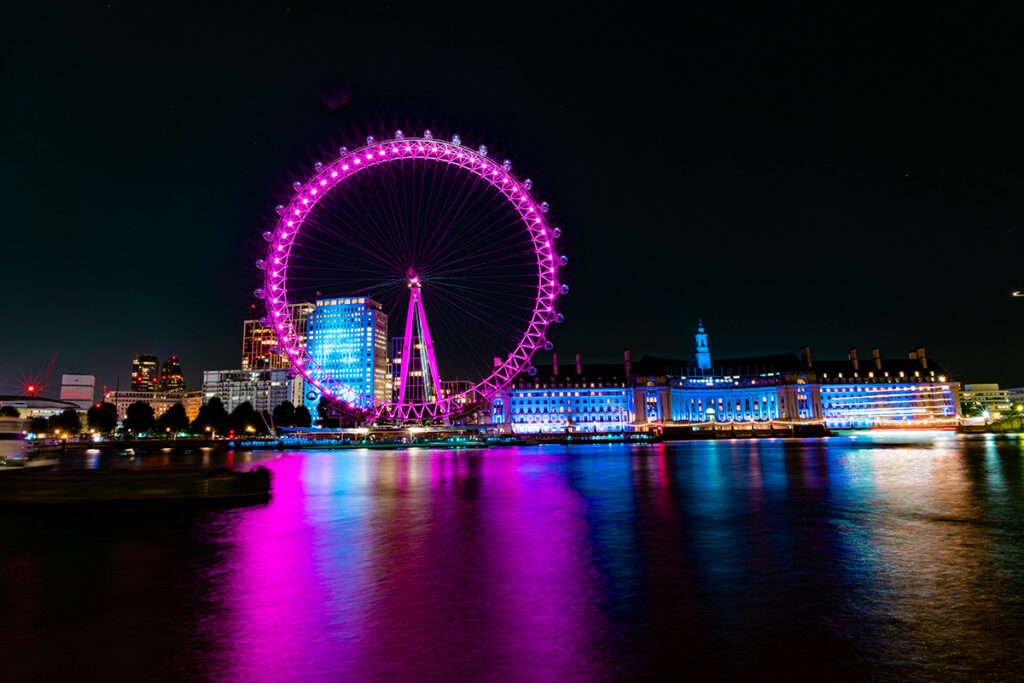
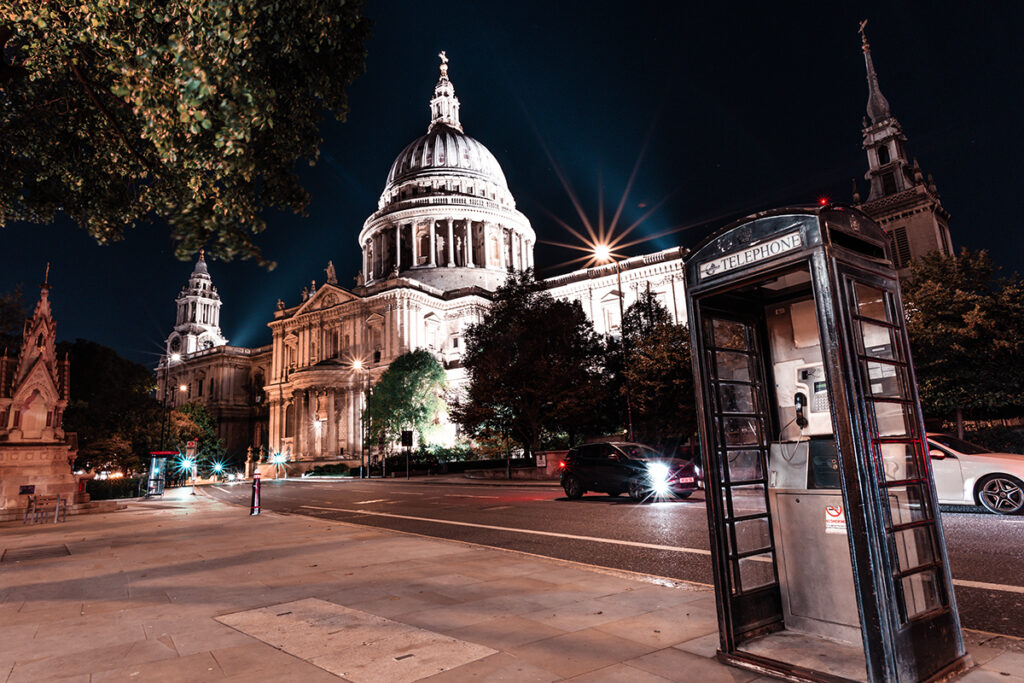
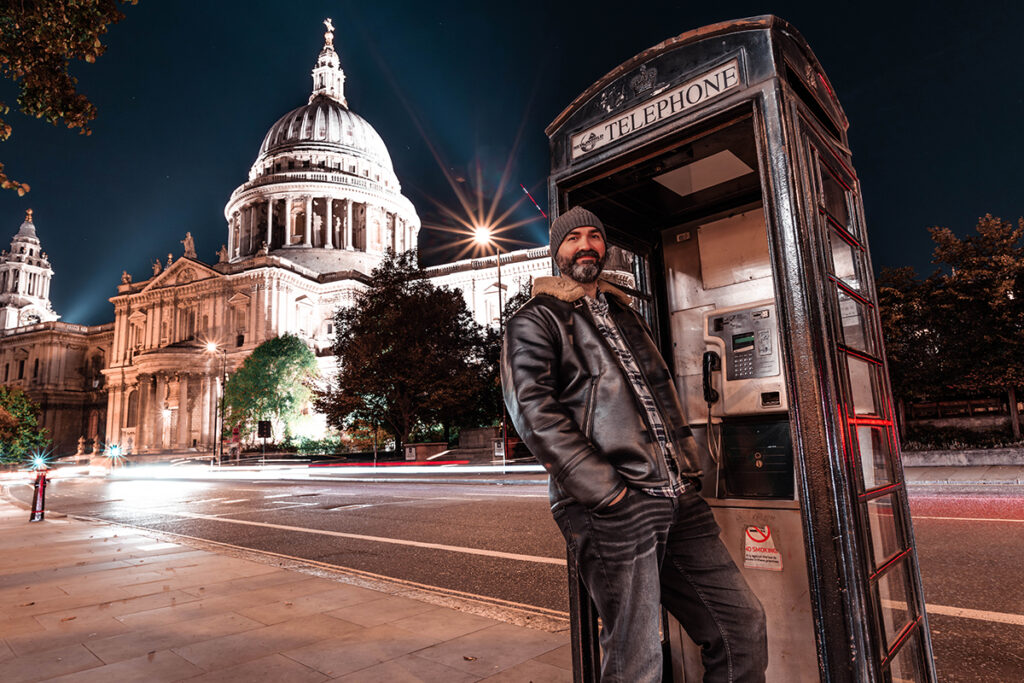
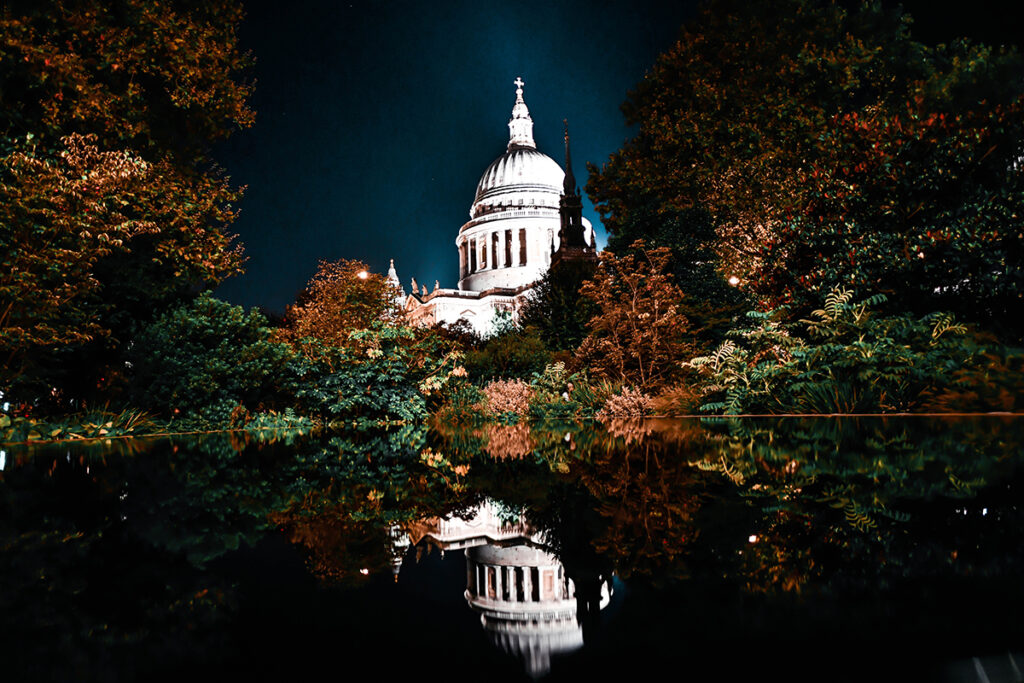
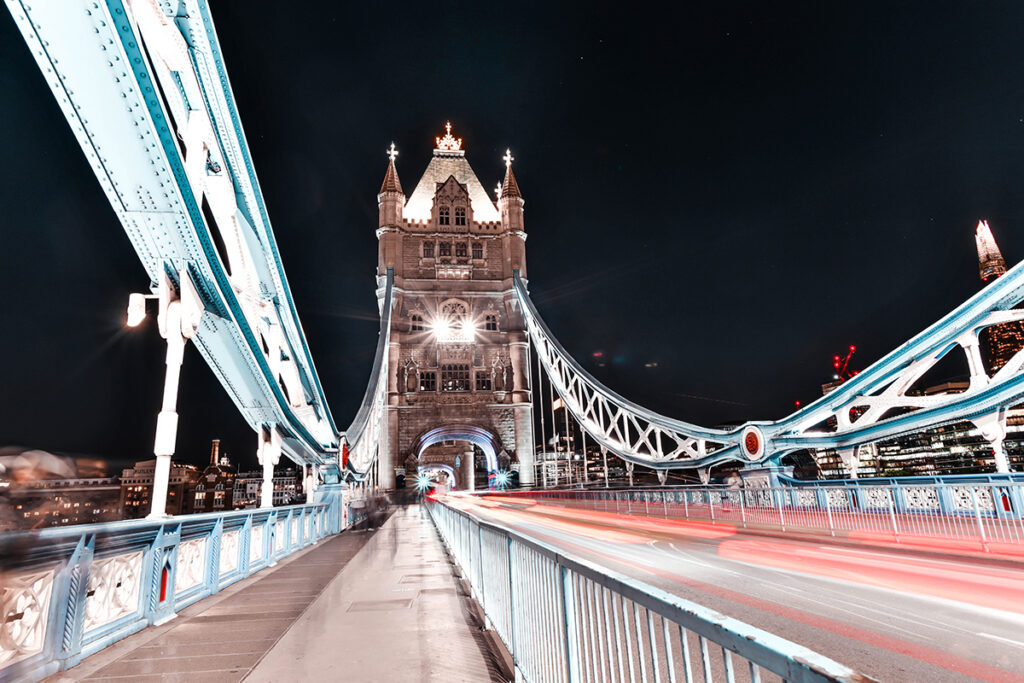
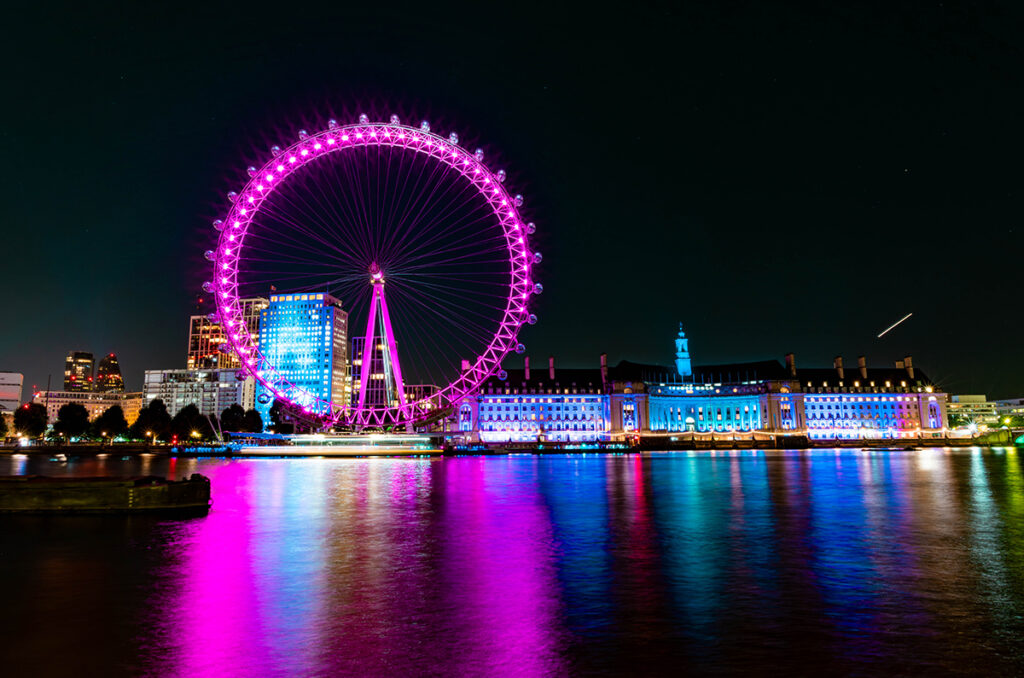
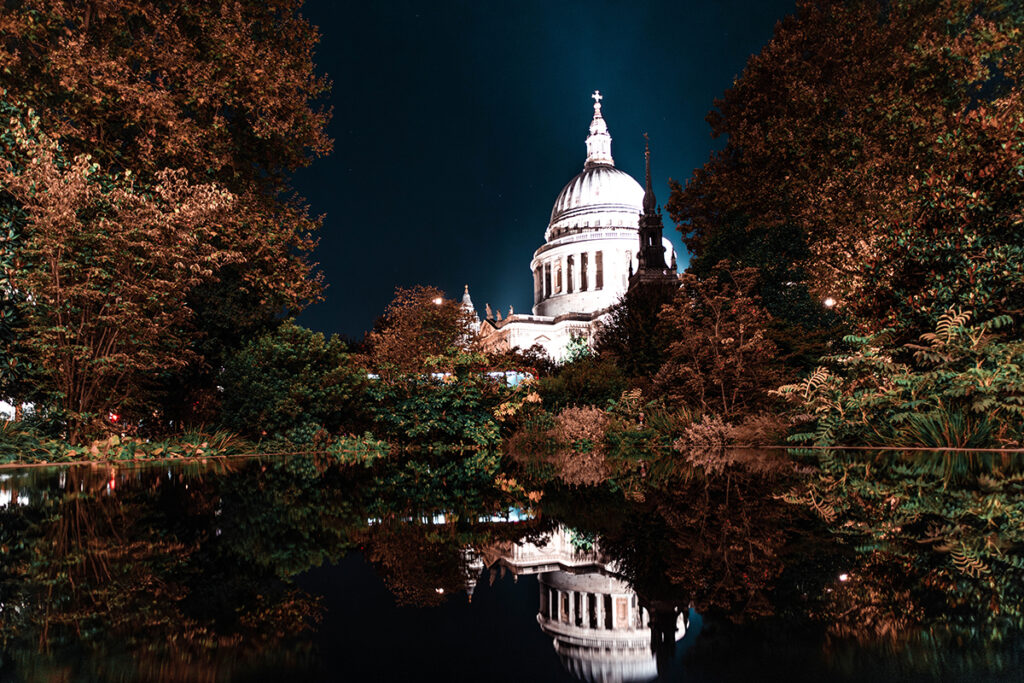
London is a city that truly comes alive at night, making it the perfect place to explore nighttime photography. The city’s iconic landmarks, like Big Ben, Tower Bridge, and the London Eye, are beautifully illuminated, creating stunning opportunities for long exposures and dramatic shots.
Nighttime also adds a magical atmosphere, with fewer crowds and a sense of calm that contrasts with the city’s daytime hustle. Capturing London after dark allows you to see the city in a whole new way, full of vibrant colors and unique contrasts.

What I Learned
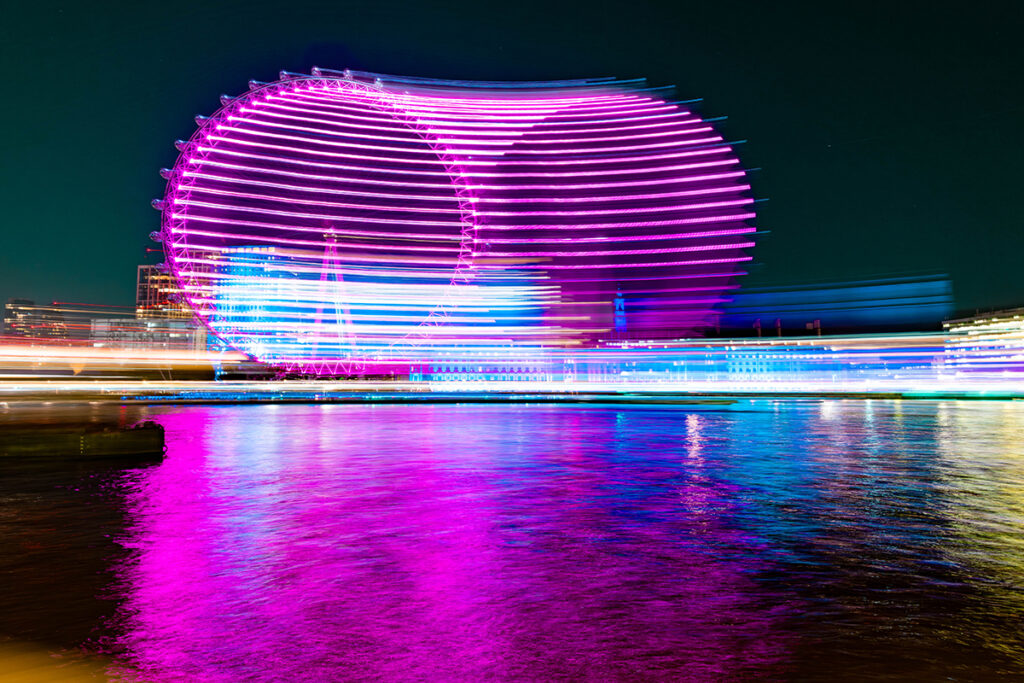
My first photography tour, I learned about achieving the proper exposure, this tour I learned about camera setting shortcuts, HDR tricks, and working with long exposures.
As I mentioned earlier, I brought a new camera on this trip, and I’m still getting the hang of all its amazing features. Luckily, our photography instructor was incredibly helpful, showing me how to use the HDR settings to create stunning, dynamic shots. He also walked me through the shortcut settings, teaching me how to quickly adjust key functions without digging through the main menu. This hands-on guidance not only boosted my confidence but also helped me feel more connected to my camera, making it easier to adapt and capture the perfect shot on the fly.

Challenges And How I Overcame Them
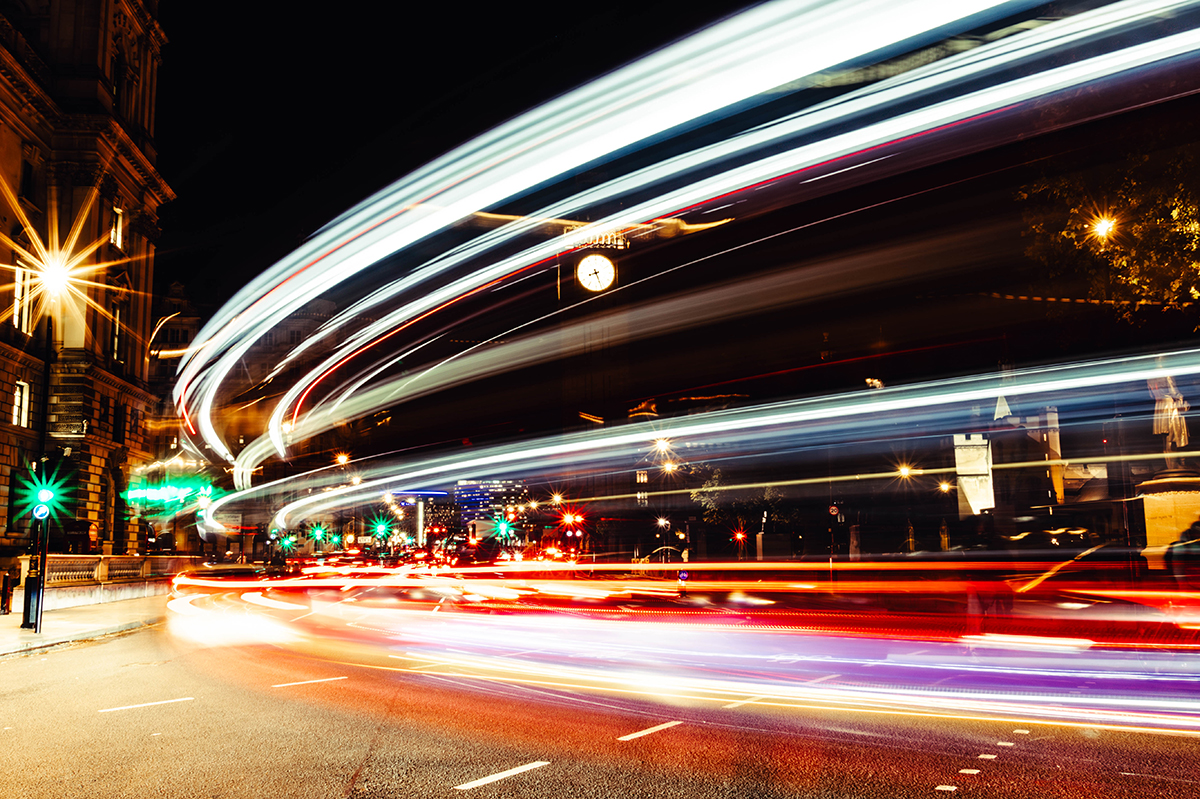
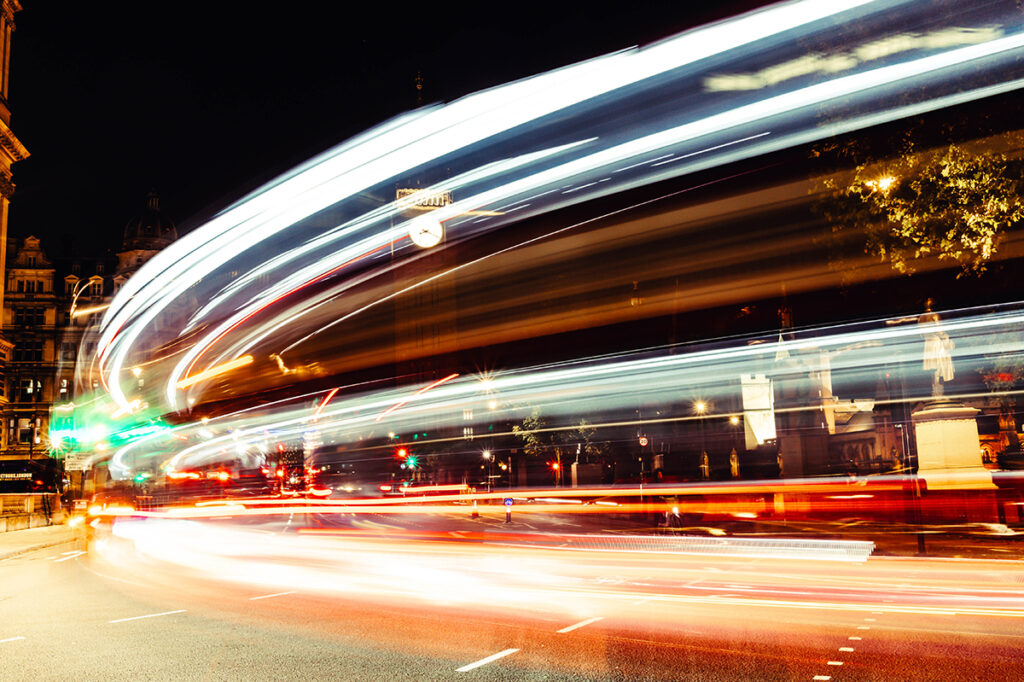
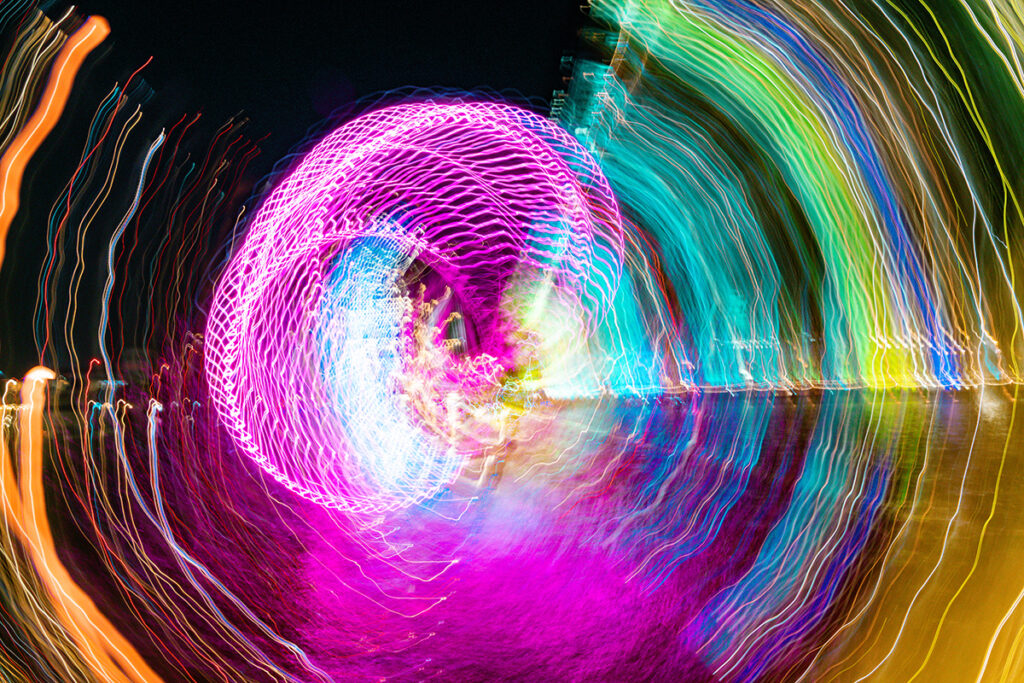
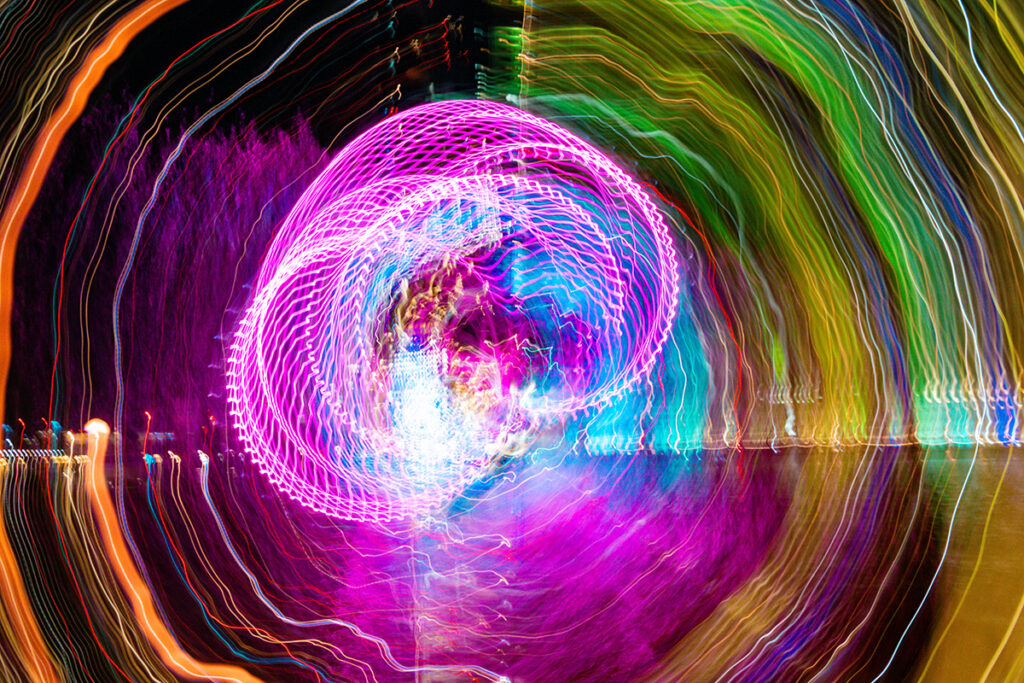
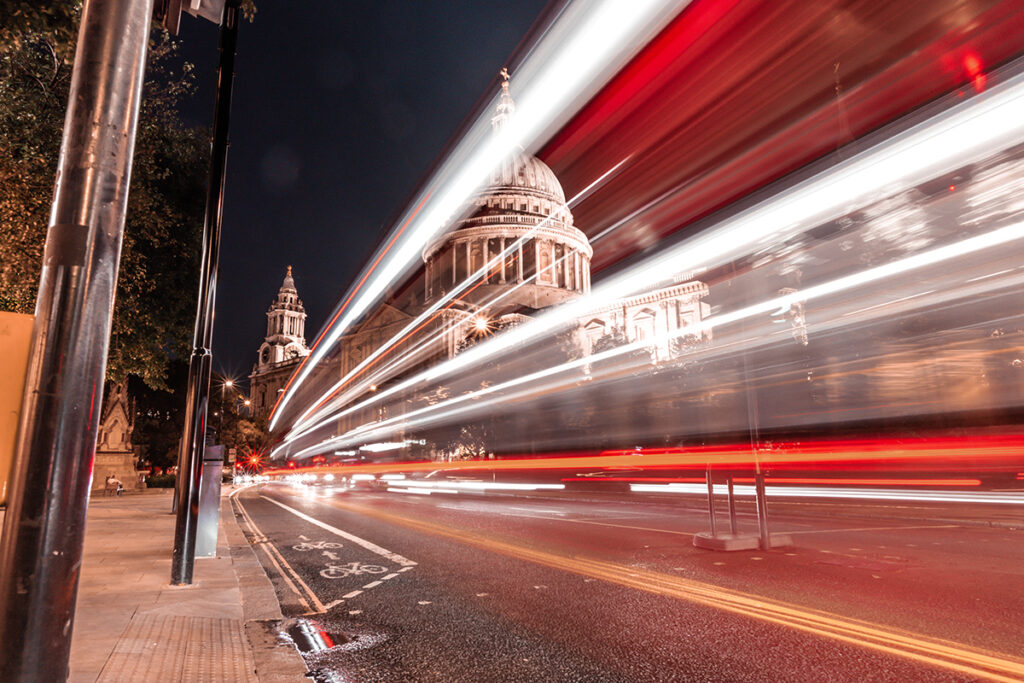
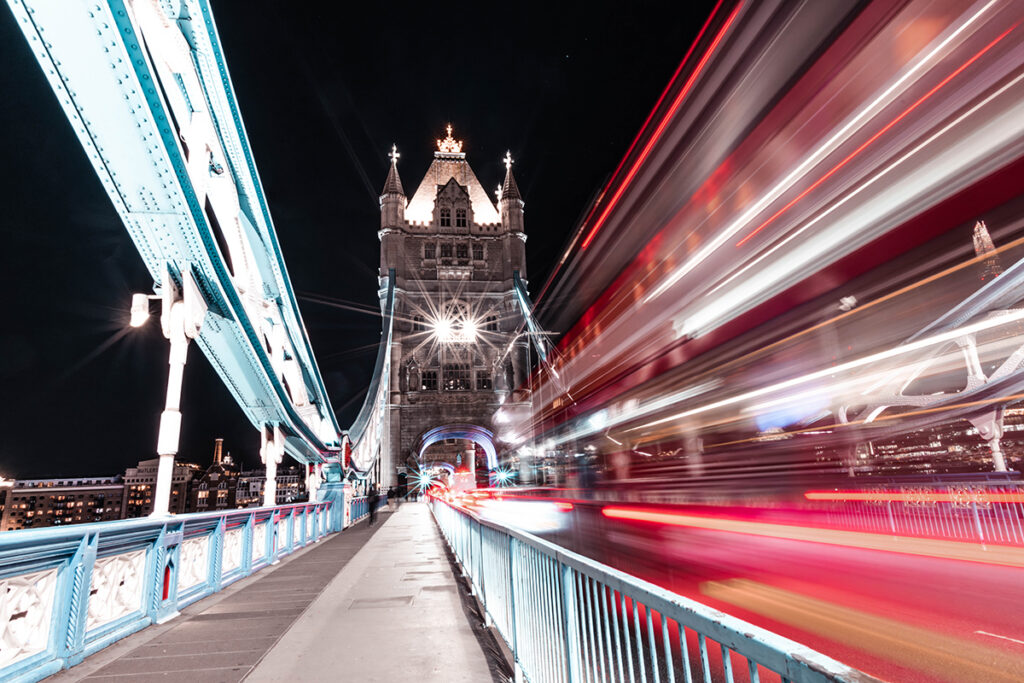
To create light trails, I used long shutter speeds, and I came prepared with my tripod and remote shutter release to minimize any camera shake while the shutter was open.
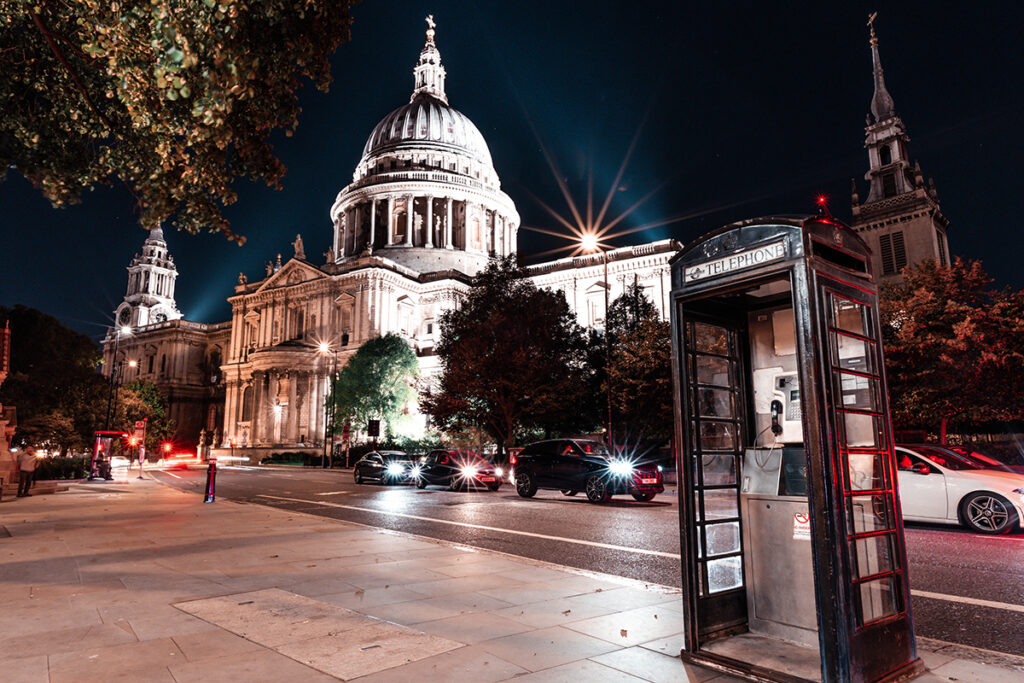
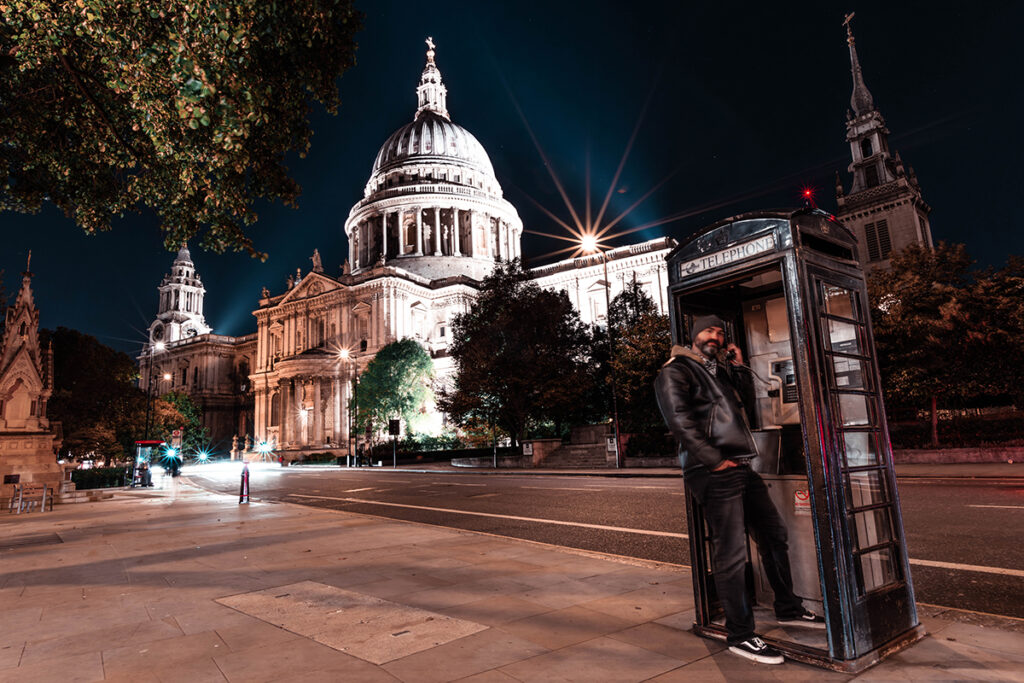
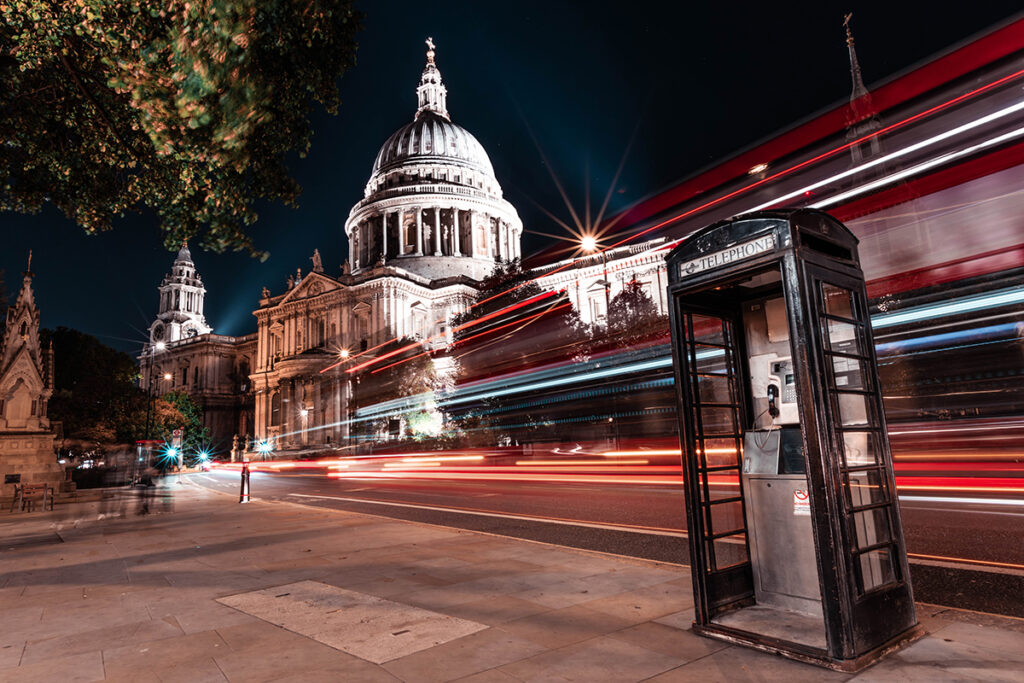
Crowds and traffic posed another challenge, but fortunately, the streets were much quieter at night than during the day. On the rare occasion that someone walked into my shot while the shutter was open, they appeared as a blur, leaving the rest of the scene crisp and in focus. Rather than trying to avoid it, I embraced the effect—it added a unique touch to the image. If you look closely at the photo above, you can spot a blurry figure walking through, with just the whites of their shoes visible, creating an unexpected but cool element in the shot.
My Favorite Moments From This Tour
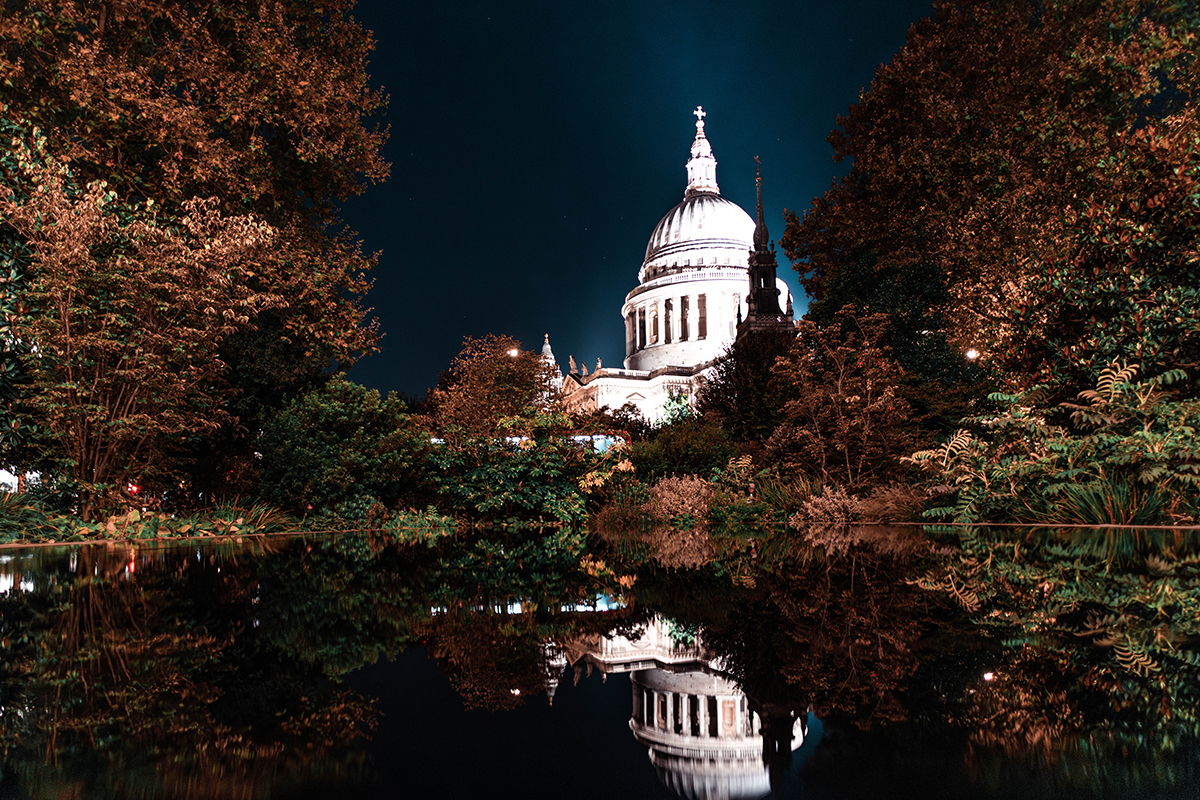
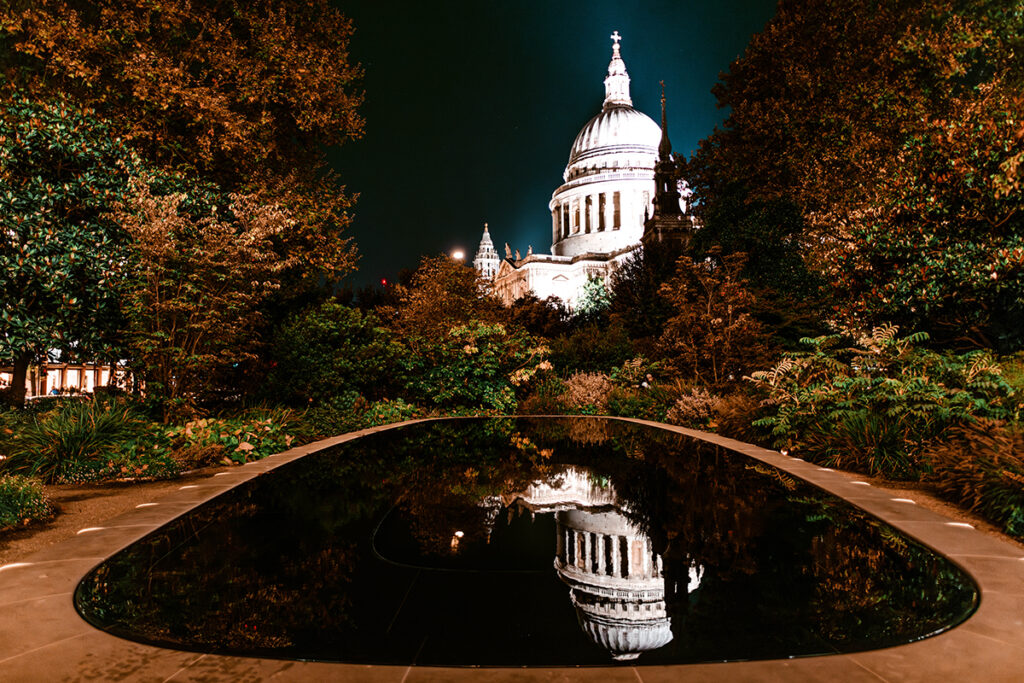
- Capturing these iconic buildings at night and using my camera to photograph them in creative, unique ways was an incredible experience.
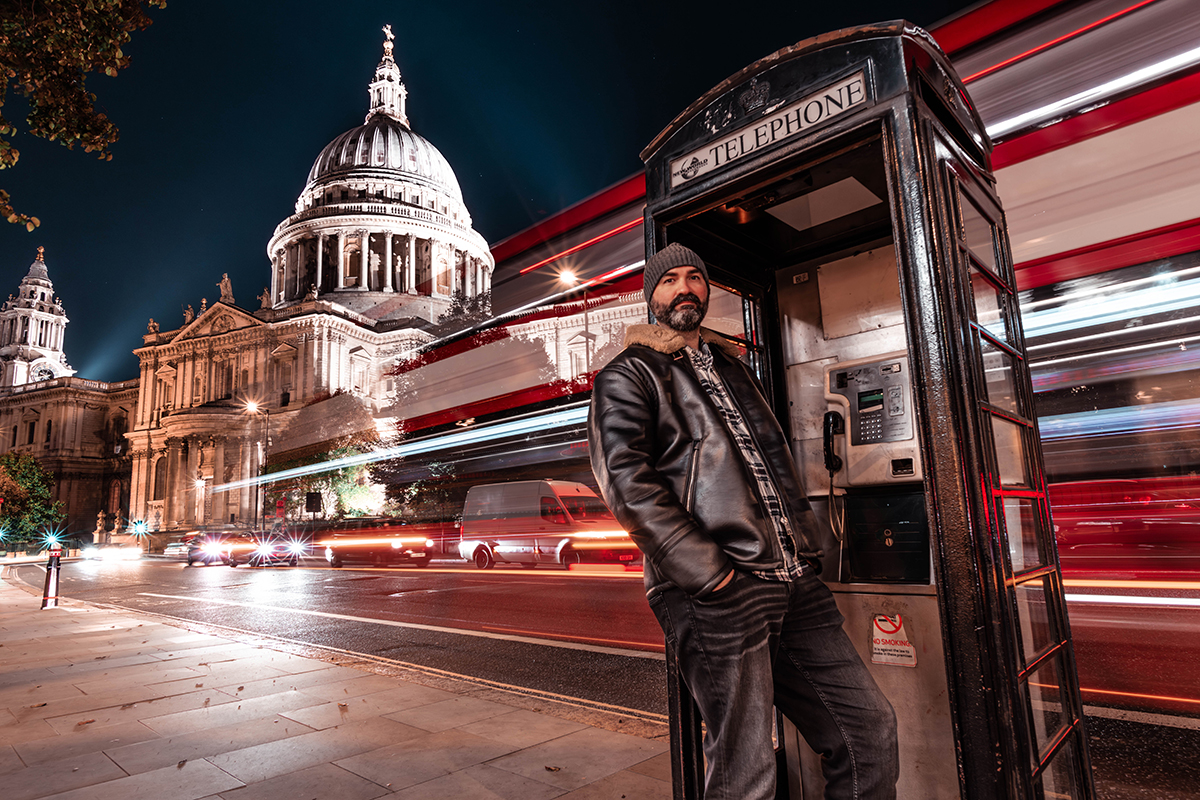
- Our photography instructor was incredibly organized, even knowing the bus schedule by heart. We planned our shots around the timing of the buses, carefully positioning ourselves to capture the perfect light trails as the buses zoomed by. It was a fun and strategic way to make the most of the city’s constant movement while creating dynamic images.
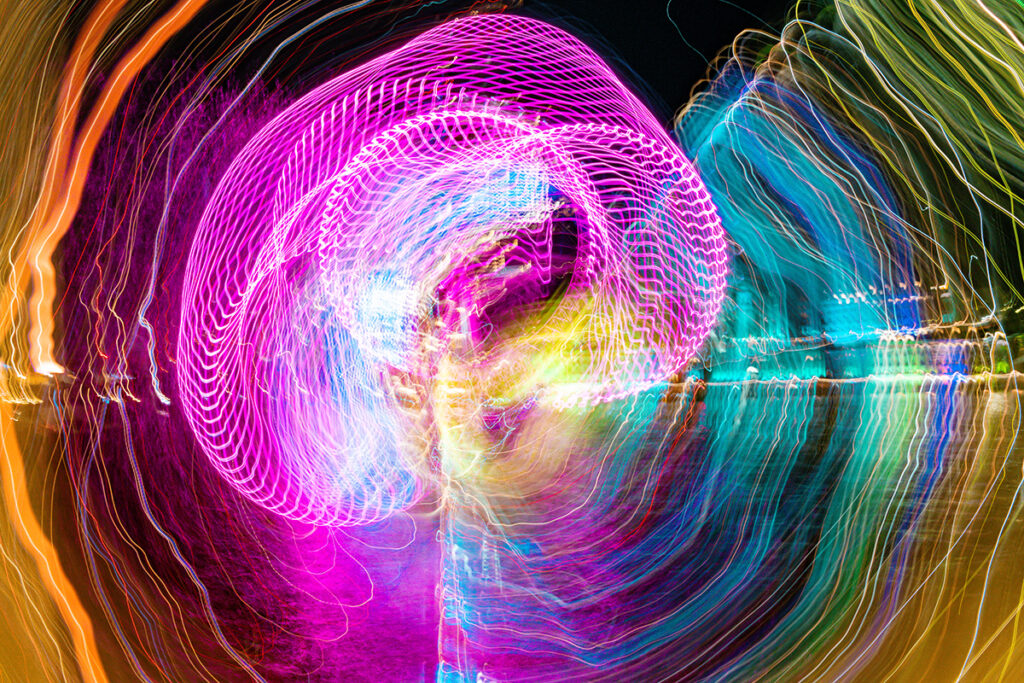
- The night vibe in London was simply electric, with the city’s lights, sounds, and energy creating an unforgettable atmosphere. Walking through the streets, capturing the glow of iconic landmarks, and seeing the city transform after dark added a special layer to our experience. It wasn’t just about the photos; it was about immersing ourselves in the magic of London at night, making it a moment I’ll always cherish.
Tips for Beginners in Nighttime Photography
- Use a tripod. A tripod will help keep your camera steady and avoid blurry images.
- Experiment with shutter speeds. Longer shutter speeds (several seconds or more) allow more light into your camera, perfect for capturing city lights, star trails, or light trails from moving vehicles. Start with around 10-15 seconds and adjust as needed.
- Use a low ISO. To minimize noise, keep your ISO as low as possible (e.g., 100 or 200). If your exposure is too dark, increase the exposure time instead of raising the ISO.
- Shoot in RAW. RAW files retain more detail and offer greater flexibility in post-processing. This is especially useful for tweaking exposure, shadows, and highlights in low-light conditions.
- Use a remote shutter button. To prevent camera shake when pressing the shutter button, use a remote shutter release or the camera’s self-timer function.
- Be patient and experiment. Don’t be afraid to experiment with different settings and compositions. Each shot is a learning opportunity!

Conclusion
My nighttime photography experience in London was not only an incredible opportunity to learn new techniques but also a chance to immerse myself in the city’s unique after-dark atmosphere, creating an unforgettable experience.


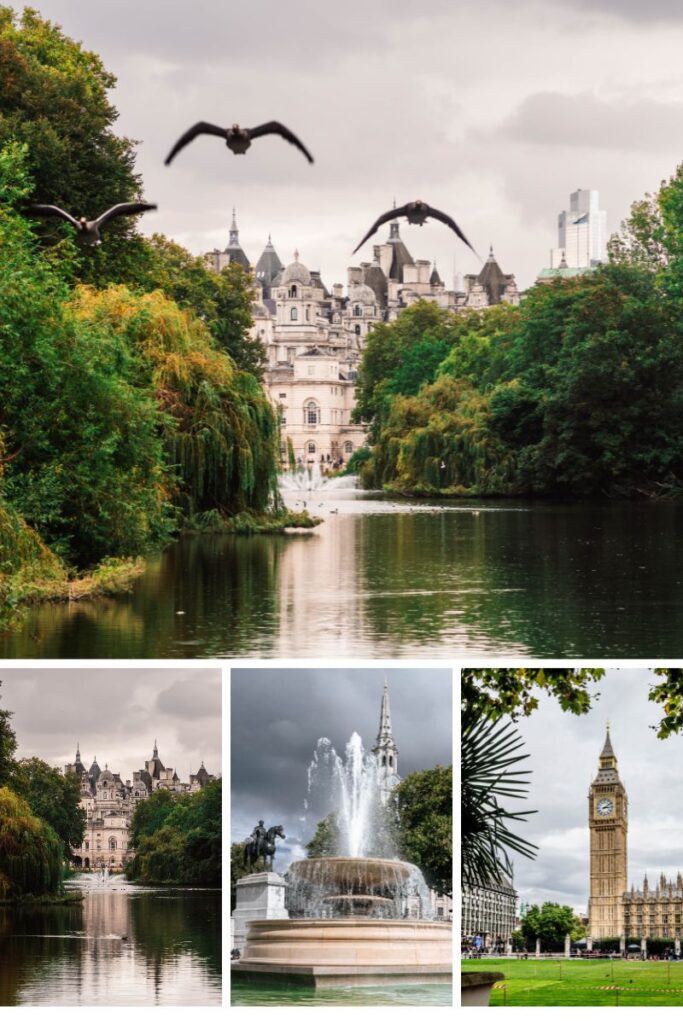
Capturing the Iconic Sights of London: A Private Photography Tour
My recent private photography tour through London was an unforgettable experience, filled with moments that allowed me to capture the vibe of this historic city. I explored the vibrant culture and stunning architecture that makes London a photographer’s dream. Let me take you on a visual journey through some of the most iconic sights I visited.